How to Create Pixelated-Free, Scalable Patterns in Procreate
Have you ever uploaded a pattern to a print-on-demand (POD) site, only to find it pixelated or blurry when printed?
The secret to avoiding this issue starts with scaling your designs properly in Procreate. It all begins with using the right canvas size and settings to create crisp, print-ready patterns that can be scaled for any product.
By starting with the correct canvas setup and following these steps, you’ll be ready to upload your designs to POD sites without worrying about pixelation.

Step 1: Why Canvas Size Matters for Print-Ready Patterns?
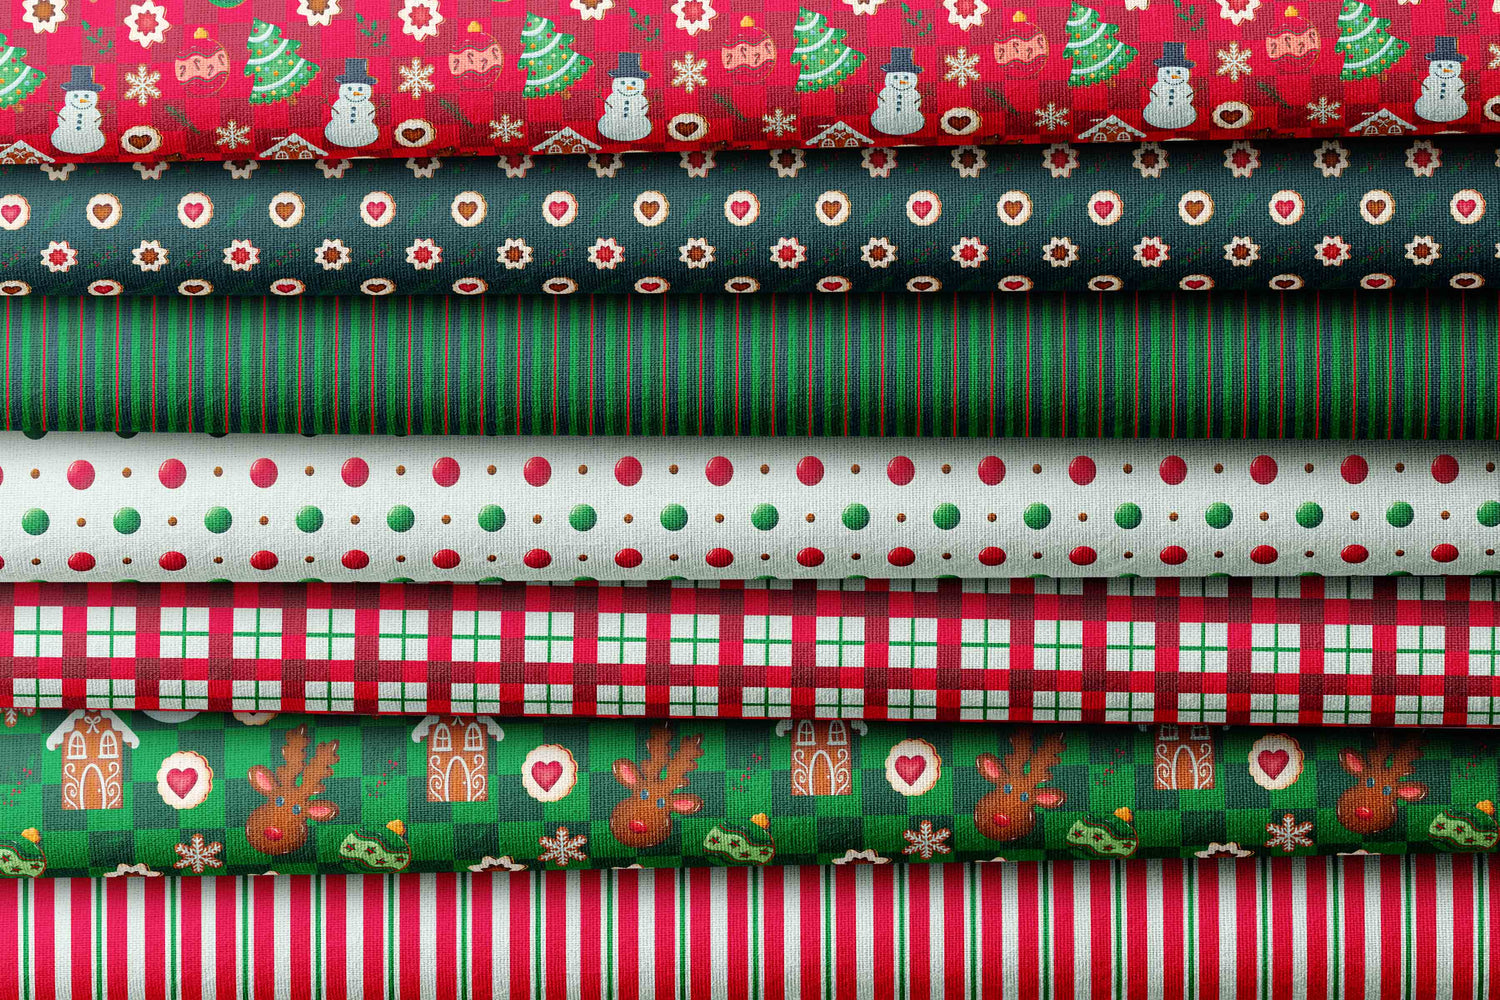
When creating patterns for POD, it’s important to start with the right canvas size. Whether you're designing fabric, wallpaper, or other products, each item has specific dimensions. If your canvas is too small, your artwork will become pixelated when scaled up for printing. If your canvas is too large, you may encounter issues with file size or quality when printing smaller products.
The key takeaway: Setting the correct canvas size from the start ensures that your patterns will maintain sharpness and clarity without the need for resizing later.

Step 2: quirks & dough ™ Universal Canvas Tip for Scalable Patterns
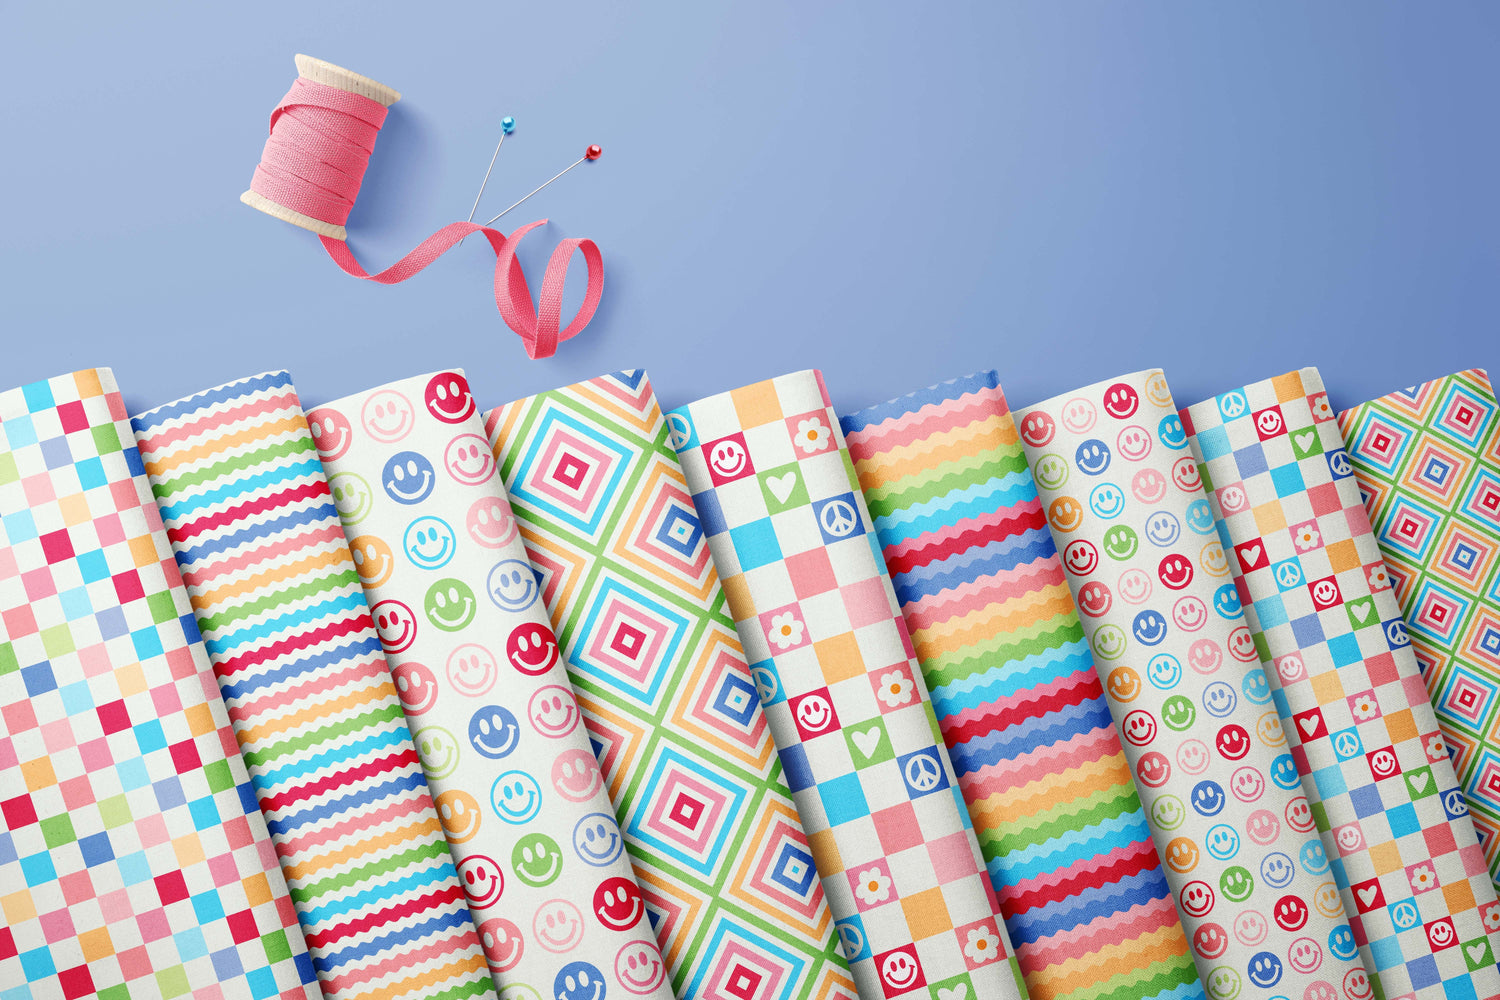
For consistent, high-quality artwork across various products, we always recommend using the same universal canvas size in Procreate: 14” x 14” at 300 DPI.
Here’s why this setup works:
- Canvas Dimensions: A 14” x 14” canvas gives you a solid starting point for a variety of products. It provides enough room for detail, but it’s not too large to cause file size issues.
- Resolution: Set to 300 DPI (dots per inch). This resolution ensures crisp patterns, with no pixelation when resized.
- Color Profile: Choose sRGB IEC61966-2.1, which is the best color profile for print on POD platforms, ensuring that colors are consistent across devices.
- Layers: You can use up to 26 layers in this setup, and if you need more, simply duplicate the file and merge layers. This keeps your design organized while maintaining clarity.

Step 3: How to Set Up Your Canvas in Procreate
Now, let’s get practical! Here’s how to set up your canvas for scalable, high-quality patterns:
- Open Procreate and tap the "+" icon to create a new canvas.
- Choose Custom Canvas at the top.
- In the dimensions section, set the size to 14” x 14”.
- Set the Resolution to 300 DPI for optimal print quality.
- Under Color Profile, select sRGB IEC61966-2.1 to ensure accurate colors.
- Enable Grid, Snapping + Magnetic (optional):
-
- Tap on the Actions menu (spanner icon) at the top.
- Go to Canvas > Drawing Guide and turn Drawing Guide ON.
- Tap Edit Drawing Guide, and adjust the grid settings to fit your design (you can choose the size and spacing of the grid).
- Enable Snapping + Magnetic by going to Selection Tool to help align elements as you create your pattern. This will make your selections "snap" to the edges of design elements, helping you align them perfectly and avoid gaps or misalignments.

Why the Grid, Snapping + Magnetic Modes Matters: The Grid helps you visualize where your pattern elements will align when repeated. Snapping + Magnetic ensures that elements "snap" into place, making sure your pattern tiles perfectly without gaps or misalignments. This setup is essential when you need to create seamless, scalable patterns that can be repeated in Procreate without pixelation or distortion at different sizes.

Step 4: Exporting Your Design for Crisp, Print-Ready Patterns
Once your pattern is ready, it’s time to export it for POD. Here's how to do it:
- Go to the Actions menu (spanner icon).
- Tap Share and select PNG for high-quality output.
- Make sure the Background Layer is unchecked if your pattern requires a transparent background.
Why This Matters: Unchecking the background layer ensures that your pattern is clean and seamless, without any unwanted borders or color blocks around the design.

Step 5: Common Mistakes to Avoid
Here are some mistakes to avoid when setting up your canvas:
- Too small of a canvas – Your design will be blurry when resized for larger prints.
- Low resolution – Your pattern will look pixelated in print if the resolution is too low.
- Canvas too large – Files that are too big can become difficult to manage and upload.
Quick Tip: If you’re unsure, start with the 14” x 14” canvas at 300 DPI. You can scale as needed for different products while maintaining high quality.
The foundation of a scalable, crisp pattern starts with the right canvas setup. By using a 14” x 14” canvas with 300 DPI, you can confidently create motifs that will look fantastic on fabric, wallpaper, decor, and other POD products. Proper scaling ensures your patterns remain high-quality no matter the size.
Free Download: The Ultimate Procreate Canvas Setup Checklist to Create Pixelated-Free +Scalable Patterns
To help you remember these key steps every time you create, here is our Procreate Canvas Setup Checklist to Create Pixelated-Free +Scalable Patterns. This downloadable checklist includes canvas dimensions, resolution settings, and export tips to ensure your designs are always print-ready.
By downloading this freebie, you’ll also be subscribed to receive MORE Procreate freebies and tips to expand your skills and knowledge, helping you master pattern creation and design in Procreate.